Containerizing applications is becoming increasingly popular due to its ability to simplify software development and deployment processes. Containers provide a lightweight and efficient way to package an application along with its dependencies, libraries, and runtime environment into a single package that can be easily moved between different environments, such as development, testing, and production.
In this post, we will discuss the benefits of containerizing applications and how to get started with containerization, but first let’s establish some differences.
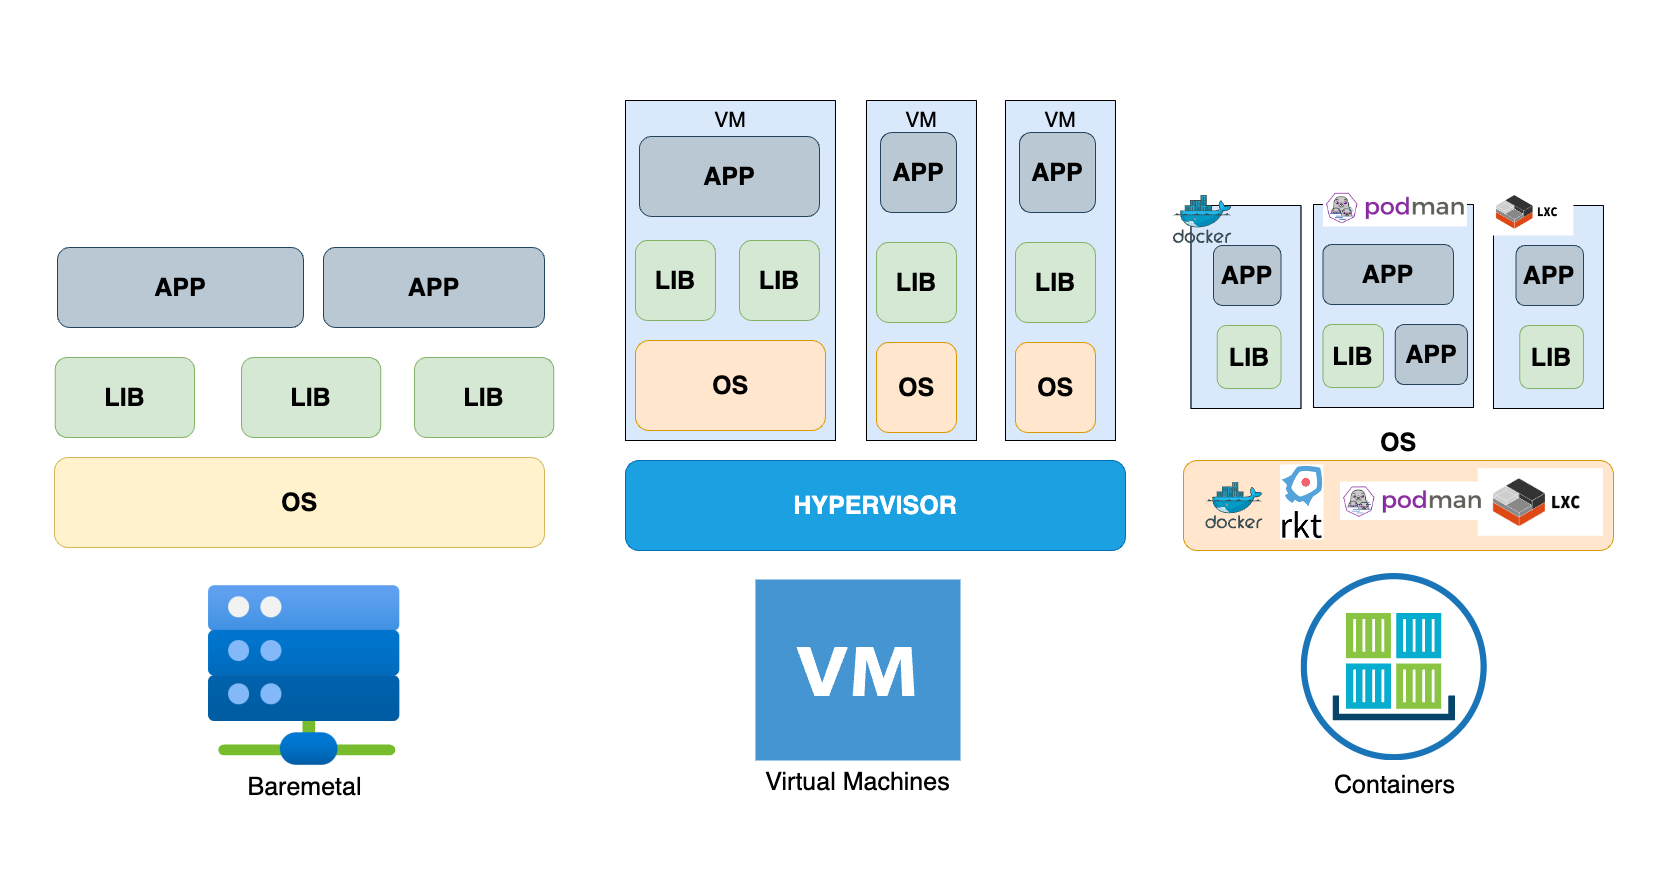
Containers vs VMs vs Bare-metal
Containers, virtual machines (VMs), and bare metal are all different approaches to running applications on a server or host system. Bare metal refers to running an application directly on a physical server without any virtualization or containerization layer. This provides the highest level of performance and control but requires more manual management and doesn’t provide the same level of flexibility.
Virtual machines (VMs) provide a way to run multiple isolated operating systems on a single physical server. Each VM runs its own operating system and applications, and can be managed independently. VMs provide a good balance of flexibility, isolation, and performance, but require more overhead in terms of resources and management.
Containers provide a lightweight and efficient way to package an application along with its dependencies, libraries, and runtime environment into a single package. Unlike VMs, containers don’t require a full operating system, which makes them more lightweight and portable. Containers provide a good balance of performance, flexibility, and isolation, and are well-suited for modern, distributed applications.
 Containers vs VMs vs Bare-metal
Benefits of containerizing applications
Portability
Containers provide a portable way to package applications and their dependencies. Developers can create containers once and then run them in multiple environments, without worrying about differences in operating systems, libraries, and other dependencies. This makes it easier to move applications between development, testing, and production environments, and reduces the risk of compatibility issues.
Consistency
Containers provide a consistent environment for running applications, regardless of the underlying operating system or hardware. This makes it easier to maintain and troubleshoot applications, and reduces the risk of issues arising due to differences in environments.
Scalability
Containers can be easily scaled up or down to meet the needs of the application. This allows developers to quickly respond to changes in demand, without having to worry about provisioning and configuring new servers or virtual machines.
Security
Containers provide a more secure environment for running applications. By isolating the application and its dependencies from the host system, containers reduce the risk of security vulnerabilities and limit the impact of any security breaches.
Getting started with containerization
Step 1: Choose a containerization platform
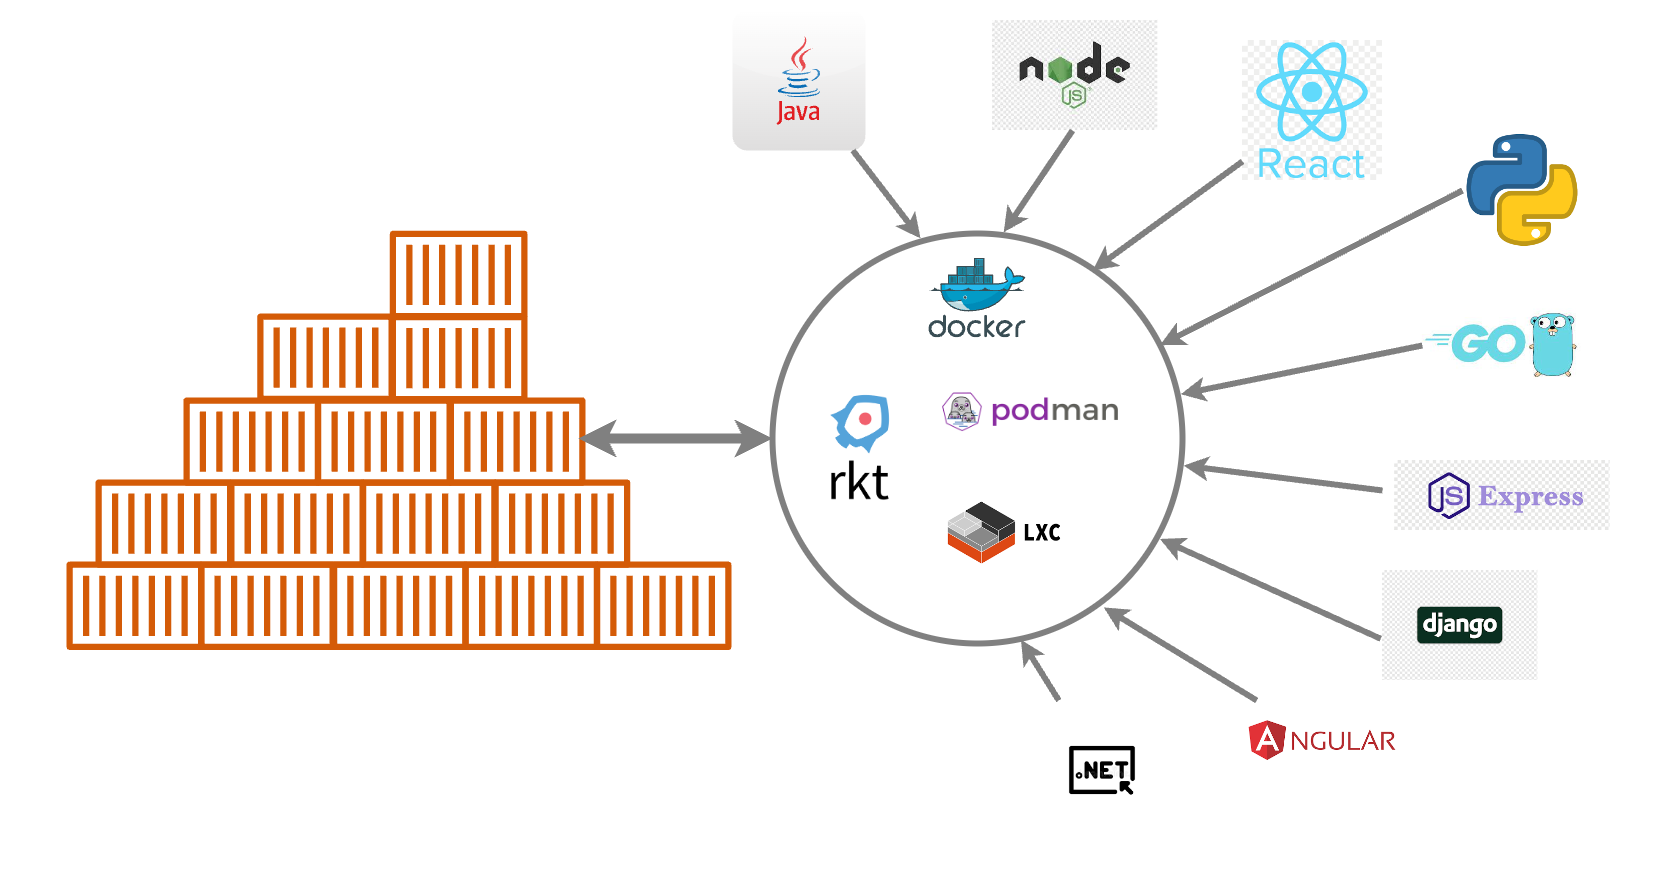
There are several containerization platforms available, including Docker, Podman, Kubernetes, and LXC. Docker is the most popular containerization platform, and is widely used in the industry.
Step 2: Dockerize your application
Docker is the most popular containerization platform and is widely used in the industry. However, there are other containerization platforms and tools available that can be used to containerize an application.
- LXC (Linux Containers) is a lightweight virtualization technology that provides a way to run multiple isolated Linux containers on a single host system. It is a containerization method that does not require a full virtualization layer, which makes it more efficient and lightweight than traditional virtual machines.
Podmanis another containerization tool that is gaining popularity. It is a container runtime that can run OCI (Open Container Initiative) containers, which are compatible with Docker containers.Podmanprovides a secure and lightweight alternative to Docker, with a focus on running containers without the need for a daemon or root privileges. WithPodmanyou can leverage onBuildahwhich is an open-source tool that provides a simple and efficient way to build and manage container images without requiring a full container runtime or daemon. It allows developers to create, modify, and build container images using familiar commands and tools.- rkt is a container runtime developed by CoreOS. It is designed to be secure, composable, and compatible with other container runtimes like Docker. rkt provides a simple and lightweight way to run containers, with a focus on security and flexibility.
- LXD (Linux Container Daemon) is a system container manager that provides a way to run full Linux systems as containers. It provides a similar experience to traditional virtualization, with the added benefits of containerization, such as faster startup times and lower resource usage.
Each of these containerization tools has its own unique features and benefits, and choosing the right tool for your application depends on your specific requirements and use case.
To containerize your application using Docker, you will need to create a Dockerfile, which is a script that defines the steps required to build your container. The Dockerfile typically includes instructions for installing dependencies, copying files, and configuring the runtime environment. An example is shown in the code below.
1
2
3
4
5
6
7
8
9
10
11
12
13
14
15
16
17
18
19
20
21
# Set the base image to Node.js
FROM node:14-alpine

# Create and set the working directory
WORKDIR /app

# Copy the package.json and package-lock.json files to the working directory
COPY package*.json ./

# Install the dependencies
RUN npm install

# Copy the rest of the application code to the working directory
COPY . .

# Expose the port that the application will run on
EXPOSE 3000

# Start the application
CMD ["npm", "start"]
Once you have created your Dockerfile, you can build your container image using the docker build command. This will create a new image that includes your application and its dependencies. Here are a few examples of how to use the docker build command:
- Basic build command:
1
docker build -t my-image .
This command builds an image from the Dockerfile in the current directory and tags it with the name my-image.
- Specifying a
Dockerfilelocation:
1
docker build -t my-image -f path/to/Dockerfile .
This command builds an image using the Dockerfile located at path/to/Dockerfile instead of the Dockerfile in the current directory.
- Building from a URL:
1
docker build -t my-image https://github.com/myuser/my-repo.git
This command builds an image from a Dockerfile located at the root of the specified Git repository. The resulting image is tagged with the name my-image.
- Building with a build argument:
1
docker build -t my-image --build-arg MY_VAR=value .
This command builds an image and passes a build argument to the Dockerfile. In this example, the MY_VAR build argument is set to value.
- Building with caching:
1
docker build -t my-image --cache-from my-image .
This command builds an image and uses a previously built image (my-image) as a cache for the build. This can speed up subsequent builds by reusing layers that haven’t changed.
These are just a few examples of how to use the docker build command. There are many other options and configurations you can use to customize the build process. You can find more information in the Docker documentation.
Step 3: Run your container
Once you have built your container image, you can run it using the docker run command. This will start a new container based on your image, and run your application inside the container.
Step 4: Deploy your container
To deploy your container to a production environment, you can use a container orchestration platform like Kubernetes. Kubernetes provides a powerful and flexible way to manage containerized applications at scale, and can help you automate tasks like scaling, rolling updates, and load balancing.
Deployment can be on-premise where the Kubernetes clusters or docker environment is managed by teams or managed - by creating clusters in a Cloud provider’s platform and in some cases a hybrid fashion, combining both on-premise and cloud providers together.
Conclusion
Containerizing applications provides a number of benefits, including portability, consistency, scalability, and security. By following the steps outlined in this blog post, you can get started with containerization and take advantage of these benefits for your own applications.