k8s Infrastructure and Apps with Terraform
In the early days of working with Kubernetes, I had the opportunity to deploy a team’s internal WordPress site for internal operations like internal news, documentation, and announcements.
The process involved manually creating clusters on Google Kubernetes Engine (GKE) and deploying the WordPress site using kubectl commands. This approach, while functional, becomes cumbersome and error-prone as the infrastructure scales and changes become frequent with the need to onboard other applications to the same cluster.
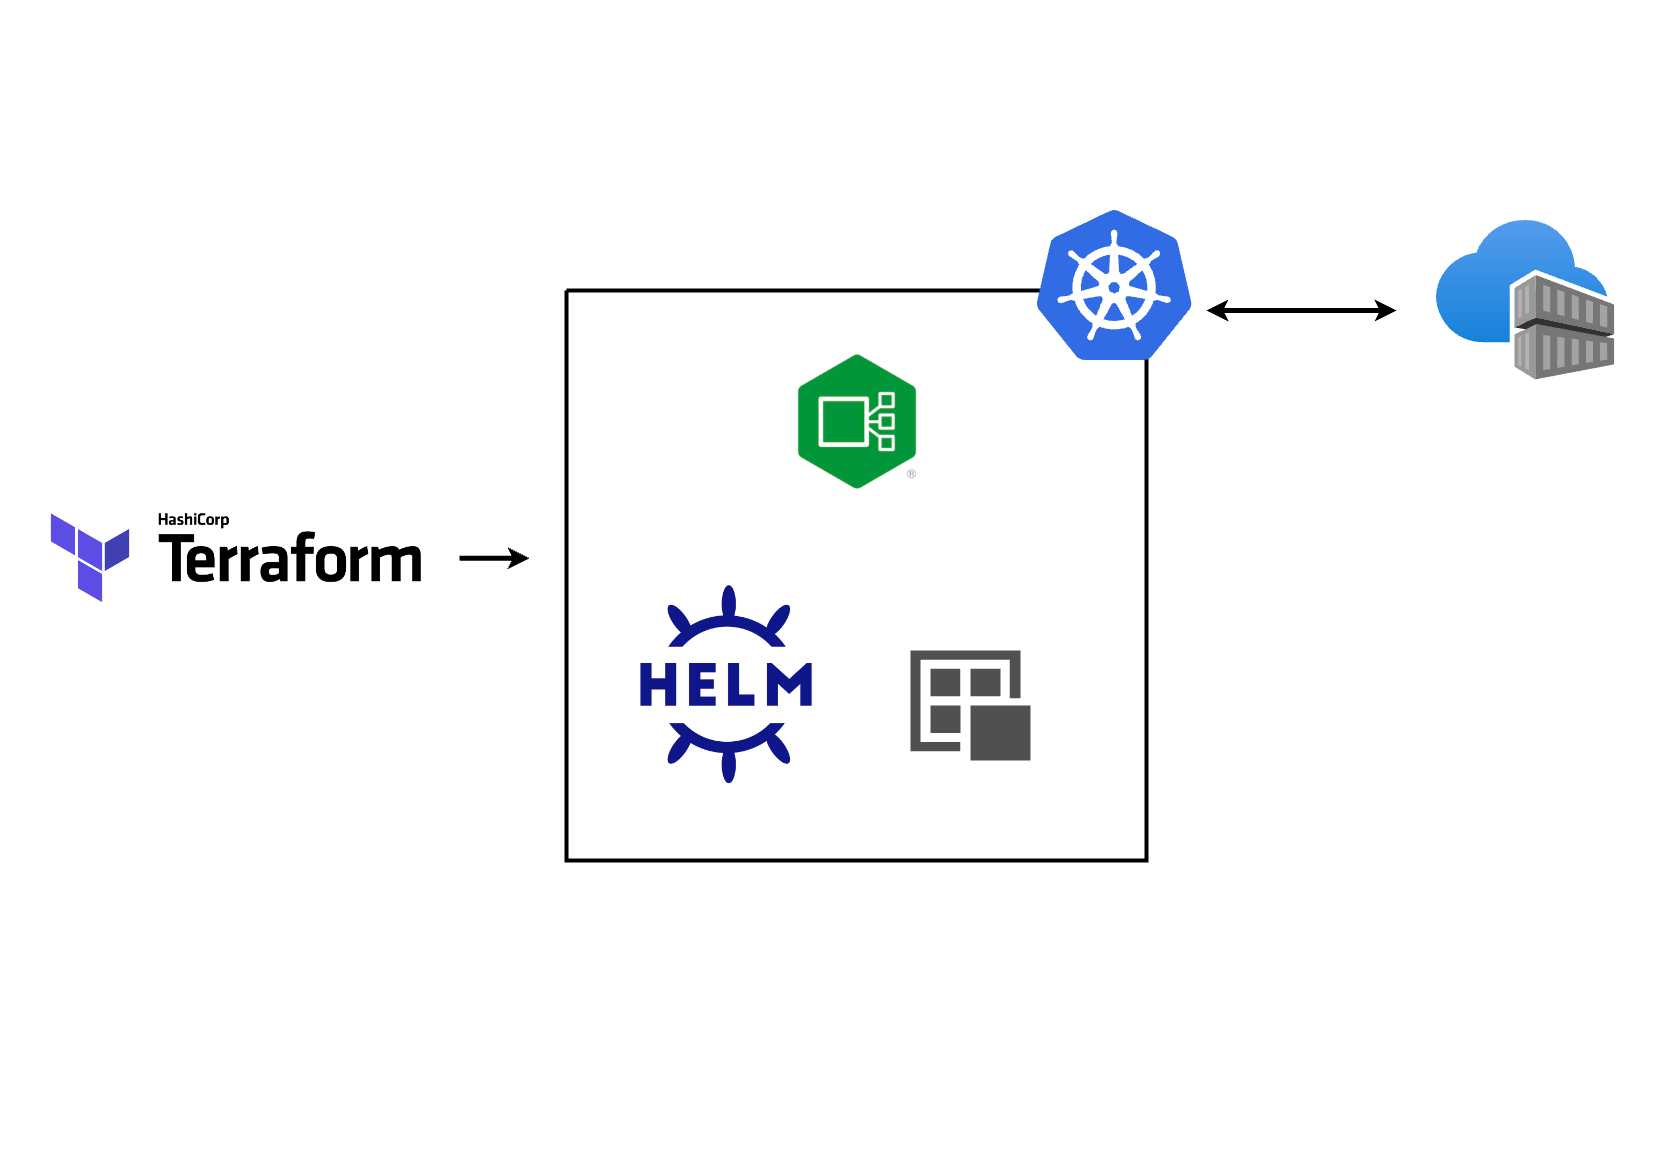
Here’s where Terraform and Helm come in, terraform creates the underlying cluster and Helm as a Terraform provider to deploy the application simultaneously.
Terraform acts as the infrastructure-as-code (IaC) tool. It allows you to define and provision your entire infrastructure, including the Kubernetes cluster itself, in human-readable configuration files. This eliminates the need for manual configuration and streamlines the process.
Helm, on the other hand, is a package manager for Kubernetes applications. It utilizes Helm charts, which bundle application configurations and dependencies, simplifying deployments and upgrades. With the help of terraform providers for Helm, both applications and infrastructure can be managed together.
In large-scale or enterprise application deployment and management on Kubernetes, it is highly recommended to leverage gitops with tools like FluxCD, ArgoCD or Spinnaker for managing application
CICDeven though the initial deployment can be done first with terraform.
Demo - Simple WordPress deployment on k3d
In this example demo, a WordPress installation is deployed on a local cluster using k3d with nginx-ingress and exposed as a local deployment using sslip.io endpoint.
The entire aim is to have a one-stop shop for deploying the entire infrastructure with minimal effort.
This repo contains the terraform code.
Deploying the cluster
To deploy the cluster, we need to first ensure we have the provider block specified which allows Terraform to download the right backend code needed to create the cluster in this case k3d. Then we can move to the resource block to allow us to specify the cluster configurations.
1
2
3
4
5
6
7
8
9
10
11
12
13
14
15
16
17
18
19
20
21
22
23
24
25
26
27
28
29
30
31
32
33
34
35
36
37
38
39
40
41
42
43
44
45
46
47
48
49
50
51
52
53
54
# provider Block

terraform {
  required_providers {
    k3d = {
      source  = "pvotal-tech/k3d"
      version = "0.0.7"
    }
    ...
  }
}

# resource block
resource "k3d_cluster" "k3d" {
  name    = var.cluster_name
  servers = 1
  agents  = 2
  image   = var.cluster_image

  kube_api {
    host_ip   = "0.0.0.0"
    host_port = 6443
  }

  port {
    host_port      = 443
    container_port = 443
    node_filters   = ["loadbalancer"]
  }

  port {
    host_port      = 80
    container_port = 80
    node_filters   = ["loadbalancer"]
  }

  k3d {
    disable_load_balancer = false
    disable_image_volume  = false
  }

  k3s {
    extra_args {
      arg          = "--disable=traefik"
      node_filters = ["server:0"]
    }
  }

  kubeconfig {
    update_default_kubeconfig = true
    switch_current_context    = true
  }
}
Deploying the application with Helm
Similarly, we declare the helm provider in Terraform and create a helm resource to helm in deploying the application to the cluster.
I have gone a little overboard to extend the functionality of the resource block by leveraging on for_each which allows looping through more than one resource variable in a case of onboarding multiple applications.
1
2
3
4
5
6
7
8
9
10
11
12
13
14
15
16
17
18
19
20
21
22
23
24
25
26
27
28
29
30
31
32
33
34
35
36
37
38
# Provder block

terraform {
  required_providers {
   ...
    helm = {
      source  = "hashicorp/helm"
      version = "~> 2.10.1"
    }
   ...
  }
}

provider "helm" {
  kubernetes {
    client_certificate     = k3d_cluster.k3d.credentials.0.client_certificate
    host                   = k3d_cluster.k3d.credentials.0.host
    client_key             = k3d_cluster.k3d.credentials.0.client_key
    cluster_ca_certificate = k3d_cluster.k3d.credentials.0.cluster_ca_certificate
  }
}

# Resource Block

resource "helm_release" "charts" {
  for_each = var.helm_release
  name     = each.key

  repository       = each.value.repository
  chart            = each.value.chart
  namespace        = each.value.namespace
  version          = each.value.version
  create_namespace = true

  values  = fileexists("${path.module}/values/${each.key}.yaml") ? [data.template_file.helm_release[each.key].rendered] : [for i in each.value.values : file("values/${i}")]
  timeout = 600
}
Now with all prerequisites detailed in the repo and the full code, just simply run the below command, and it should deploy the cluster and give the URL which can be visited on any browser and this is all local.
1
2
3
4
5
6
7
terraform init
terraform plan
terraform apply # with a yes

# to view the password simply run
terraform output password
To get to the admin page just add /wp-admin to the url.
The results should give something as;
1
2
3
4
5
6
7
8
9
10
11
12
13
14
15
16
17
18
19
20
21
22
23
24
25
26
27
28
29
30
31
32
33
34
35
36
37
38
Do you want to perform these actions?
  Terraform will perform the actions described above.
  Only 'yes' will be accepted to approve.

  Enter a value: yes

k3d_cluster.k3d: Creating...
random_password.password: Creating...
random_password.password: Creation complete after 0s [id=none]
data.template_file.helm_release["wordpress"]: Reading...
data.template_file.helm_release["wordpress"]: Read complete after 0s [id=170cac9a8800876dc40e116f47fcf48427bf21e3d1238c2e8bcc741d0bca9670]
k3d_cluster.k3d: Still creating... [10s elapsed]
k3d_cluster.k3d: Still creating... [20s elapsed]
k3d_cluster.k3d: Creation complete after 21s [id=demo]
helm_release.ingress: Creating...
helm_release.charts["wordpress"]: Creating...
helm_release.ingress: Still creating... [10s elapsed]
helm_release.charts["wordpress"]: Still creating... [10s elapsed]
helm_release.charts["wordpress"]: Still creating... [20s elapsed]
helm_release.ingress: Still creating... [20s elapsed]
helm_release.charts["wordpress"]: Still creating... [30s elapsed]
helm_release.ingress: Still creating... [30s elapsed]
helm_release.ingress: Still creating... [40s elapsed]
helm_release.charts["wordpress"]: Still creating... [40s elapsed]
helm_release.ingress: Creation complete after 48s [id=nginx]
helm_release.charts["wordpress"]: Still creating... [50s elapsed]
helm_release.charts["wordpress"]: Still creating... [1m0s elapsed]
helm_release.charts["wordpress"]: Still creating... [1m10s elapsed]
helm_release.charts["wordpress"]: Creation complete after 1m15s [id=wordpress]

Apply complete! Resources: 4 added, 0 changed, 0 destroyed.

Outputs:

endpoints = {
  "wordpress" = "wordpress.10-0-10-10.sslip.io"
}
password = <sensitive>
Other Scenarios
In a similar scenario, this can be extended to build and deploy multi-tenant applications on Kubernetes, with a demo example in this repo that allows deploying and customizing applications with similar base code and host them on the same underlying Kubernetes cluster.


